Page 8 of 36
Posted: Wed Sep 10, 14 2:06 pm
by Dave81
This car absolutely loves its new garage........Got everything buttoned up on Sat just gone............This is so I can go and FINALLY road test it (build confidence that it wont leave we with the AA). New fuel filter, top up fluids.......
Connect battery and turn key........Tick. DEAD.
The Starter started playing up when it was in the garage last month..........and I was warned about it!
What an
Absolute BITCH it is to do when the car is foot off the floor.......Torsion bar, exhaust, steering linkage/pitman arm. and a fat lanky man with ape arms lead to it taking 3 hours only to be defeated by my blood pressure in the end!
Managed to get the old one off, but just couldn't get the new one in with the wires connected. Took wires off bolted in.....try to reconnect and I lose the Starter relay post nut..........Do you think I can find it.....Even with telescopic magenetic....just no hope.
I gave up at 10.30pm last night and looked like a black man from the elbows down!!!!
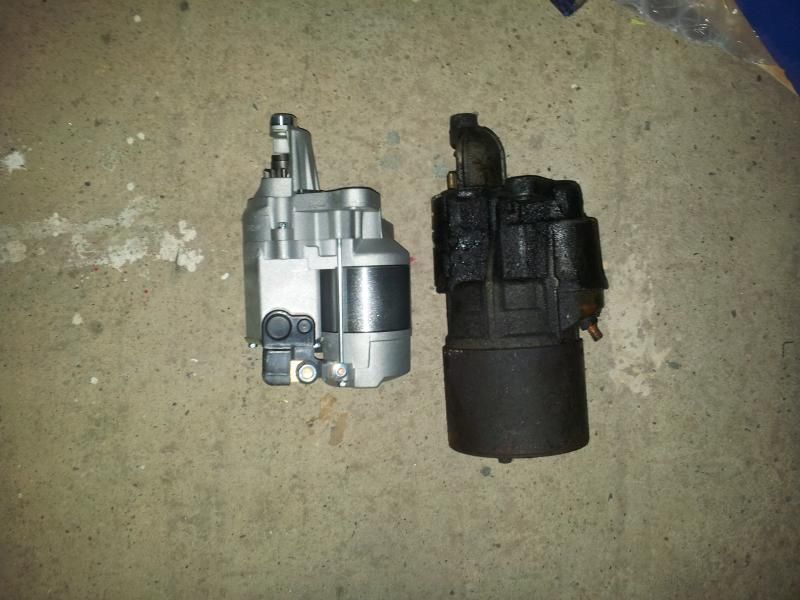
The old ones weigh a ton........
Back on it tonight...........3 nights left to hit deadline!!!
Posted: Wed Sep 10, 14 2:35 pm
by Blue
They can be a faff, should be able to wangle it into position and fit the cables afterwards. I had the cables off mine the other week without much difficulty. Losing the small nut is practically mandatory....
Posted: Wed Sep 10, 14 2:37 pm
by GJUK
The starter motor on my dart appears to have been placed in situe by god himself, there is 1mm of room around it, engine, headers wires. Everything is soo snug :-/
cant wait to change it

Posted: Thu Sep 11, 14 10:21 am
by Carl
Feels great to be out of the wilderness doesn't it Dave. You've done well mate and learnt a lot on the way. Look forward to seeing it rumble down the road.
Posted: Thu Sep 11, 14 12:53 pm
by Dave81
Thanks Chaps
Blue wrote:They can be a faff, should be able to wangle it into position and fit the cables afterwards. I had the cables off mine the other week without much difficulty. Losing the small nut is practically mandatory....
Top Tip that one mate......Just wish Id read it before another 2 hrs last night!!!

Found the nut, put a new starter cable on it (the other was cracked and the core visable after my ham fisted attempts at mounting it).
I Then spent the next 45 mins trying to get both nuts on the posts.......
Cue small celebration when the littleun finally housed properly.....grabbed the wrench to tighten and its to big to get purchase on the battery cable nut!!!
Add to this the taper of the SB, meant that nothing was getting in there and the nuts were not even hand tight.......impossible position to do it with big hands!!
My other concern was that due to angles the Bat and Solenoid connectors may actually touch and short.
So decided that id have to drop the starter out, when doing this I did exactly as Blue said. Unhooked it from the bolts and rotated 90 degrees so the connection posts were parallel with the driver door.......voila easy to separate cables and tighten nuts solid!!!!

I had tried before but trying to get the mini starter in with the cables connected is near impossible (especially when not on a 4 post lift). It wont clear the Steering, Torsion bar, exhaust or trans cooler lines.
Get past those and then hook it up and its easy.....ish!!!!
For those that have yet to do it and have yet to understand the contortionist fun........Here's what I spend 4 hours under!!!
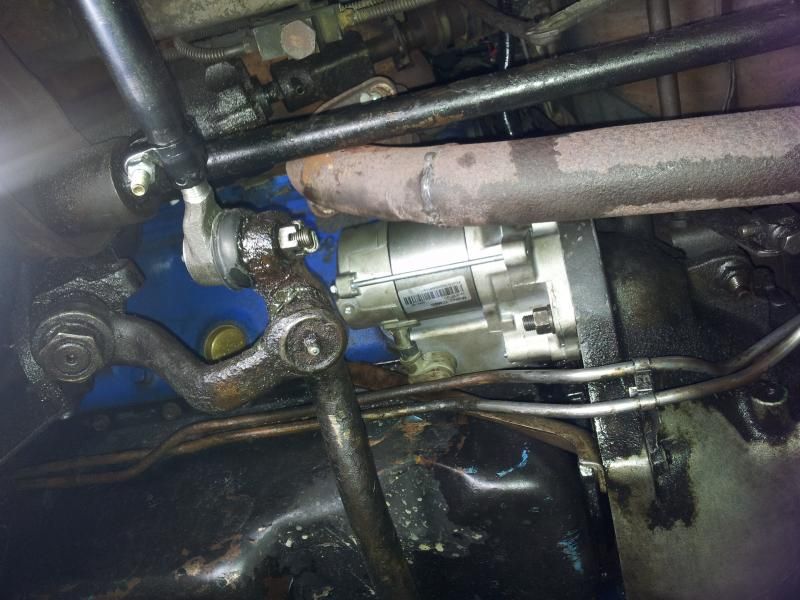
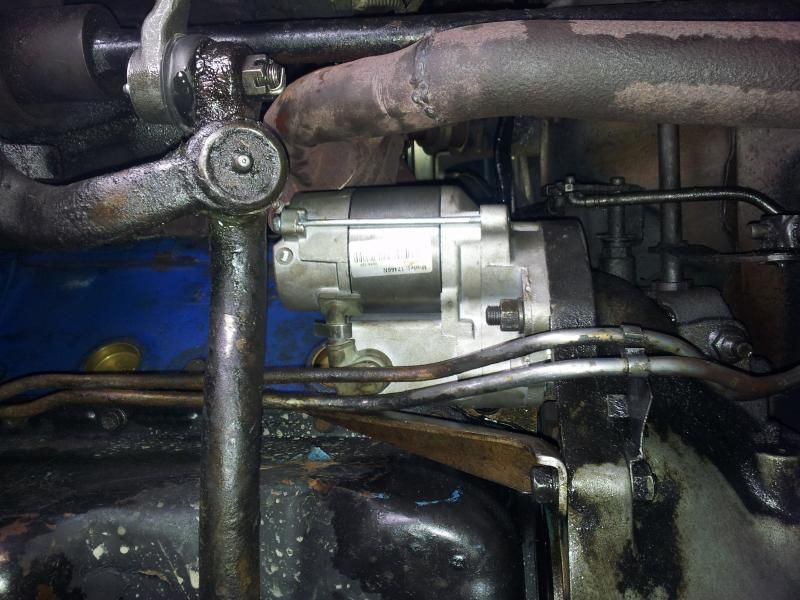
Directly underneath..........
Will test it all Friday as it was too late last night to fire it and i have no time tonight........hopefully if it all works HRD's it is!!
Before anyone mentions it.......the exhaust is on the list........I'm interested to see how the TTi's will clear that lot as the collector is 3" and that pipe is around 1.5-2".

Posted: Thu Sep 11, 14 4:41 pm
by GJUK
My exhaust is nearly touching my starter, you have loads of room there
Posted: Thu Sep 11, 14 4:55 pm
by Blue
Be well worth the effort, you'll be amazed how fast that mini starter cranks the motor over.
Posted: Mon Jan 05, 15 1:18 pm
by Dave81
Managed to get a day off over Xmas to get some work done.
Icy cold weather stopped me from doing anything else (warm weather worker)!
New Gas Tank:
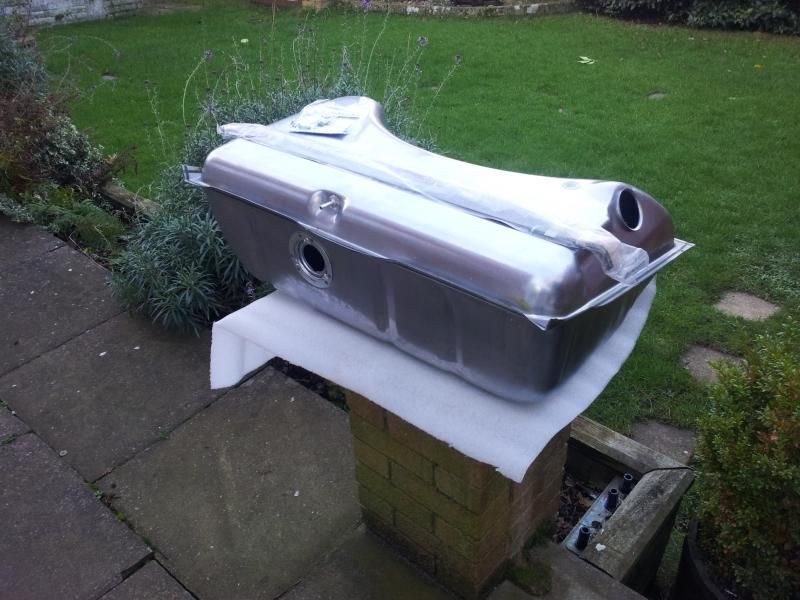
Degreased it, added primer, matt black paint and a little finishing touch:
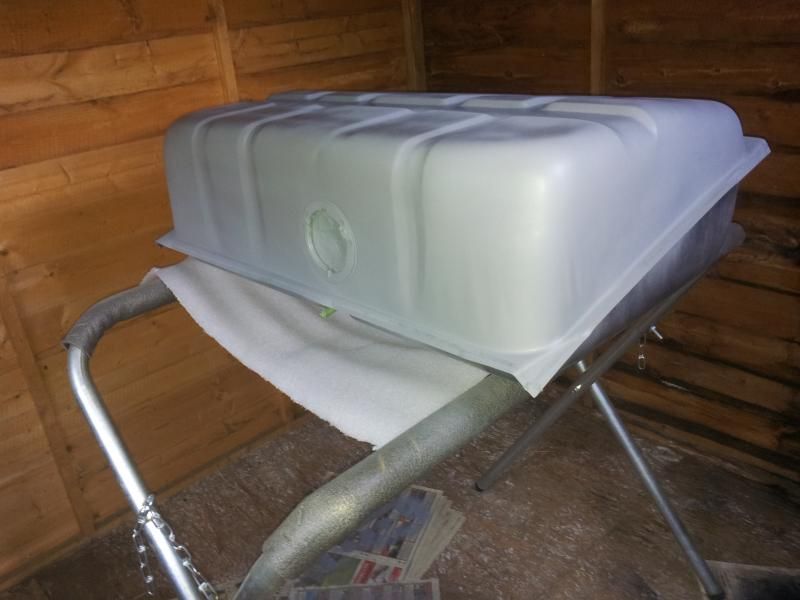

Not 100% completed as cold weather/Slow drying times and lack of light put pay to that....just need to tidy up the decal and clear lacquer to Bananarama! off!

tank
Posted: Mon Jan 05, 15 7:27 pm
by 68Roadrunner
Hi dave,tank looks great, if it were mine while the tank is new and out ,would coat it inside with P O R tank sealer available from frost ,its ,an excellent product, check it out. Richard.
Posted: Mon Jan 05, 15 8:50 pm
by Mossy68
Looking good Dave. Like the little detail
Posted: Tue Jan 06, 15 10:58 am
by Carl
Even less room for the starter when you have headers. Like the little touch on the fuel tank. What else is left to do, you must be almost there now?
Posted: Tue Jan 06, 15 1:07 pm
by Dave81
Carl wrote:Even less room for the starter when you have headers. Like the little touch on the fuel tank. What else is left to do, you must be almost there now?
Thanks chaps!
Short term:
Its already on the road so in reality nothing to stop me driving it.
Medium term:
I've gotta run new fuel lines (old are corroded and advisory on MOT). Exhaust needs to be completely replaced (blowing in various places). I want to redo the cooling circuit as it ran hot in September last year when under load. All the above needs to be bought and installed.
Needs new brake booster, pads and discs. Front bearings and a Gas tank. All these I have and just waiting to install!
Long Term:
The whole car!
Posted: Tue Jan 06, 15 3:36 pm
by Charger
how did you do the Mopar logo??
looks neat
Posted: Tue Jan 06, 15 4:18 pm
by Steve
Great work there Dave....does look a squeeze under there!! You need a C body matey.....tons of space!
Posted: Tue Jan 06, 15 8:38 pm
by Dave81
Charger wrote:how did you do the Mopar logo??
looks neat
Printed off the logo from the web to a size I wanted and used it as a guide.
Light pencil marks and then taped it out.
Painted the whole tank black first then blue on top.
Not 100% happy so gotta do finishing touches before I lacquer it!


