Page 2 of 3
Posted: Thu Mar 03, 16 9:24 pm
by Charger
nice work


Posted: Thu Mar 03, 16 9:44 pm
by XP29
Thanks. I do have a question. A friend has said to put the floor bangs back in before the 2nd coat of paint so the paint seals them in. I was going to put them in after like they did at the factory. Any suggestions on which way to go?
carpet
Posted: Fri Mar 04, 16 6:37 pm
by karlee1433
Myself i would seal them in.
Posted: Fri Mar 04, 16 8:46 pm
by XP29
Even though I'm (hopefully) not going to see under there again once the carpet is back down, I'm not happy about painting them in. I'm thinking maybe a bead of RTV silicon round each one as it goes in.
Another dilemma, is underlay. The carpet set comes with a thin Jute backing. My factory one is a lot thicker. I could have bought an upgrade called "mass backing" which was another $350 plus a bit more on the shipping. So I though to get something over here to put under, something like this? It states it is resistant to absorb moisture (not sure how much bull$ is in that statement). But a 2m X 1.5m roll which is plenty for the feet areas is under £30 delivered. Anyone any tips on this? Is this good stuff? Good enough? Or bad?
http://www.ebay.co.uk/itm/CAR-VAN-BOAT- ... KuFlWUJatw
Posted: Sat Mar 05, 16 7:56 am
by XP29
While looking for carpet spray adhesive there seem to be lots out there. Are they all much of a sameness? I'm not sticking the floor carpet down. This is for the side panel, sail panel, console and load area carpets. This is one I found, it's about £5 delivered from eBay.
http://www.livedale.co.uk/39-adhesives- ... 1048-.html
Posted: Sat Mar 05, 16 8:44 am
by MattH
I put the sound insulation stuff under my carpet, its worth it for keeping the noise down. It will soak up moisture if you have leaks but not otherwise.
No need to get a cut to fit set, just a roll like you suggest of generic underlay.
carpet
Posted: Sat Mar 05, 16 2:11 pm
by karlee1433
The adhesive is the one i used .
Posted: Sun Mar 20, 16 12:58 pm
by XP29
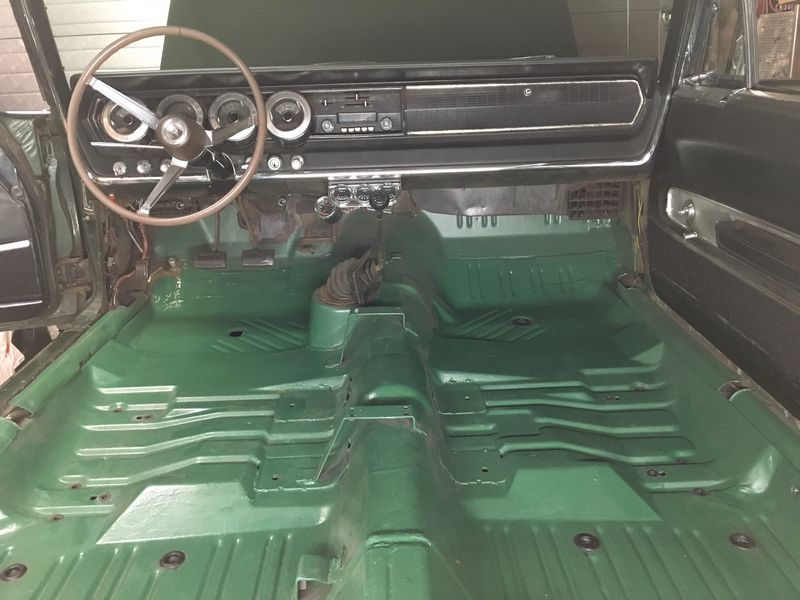
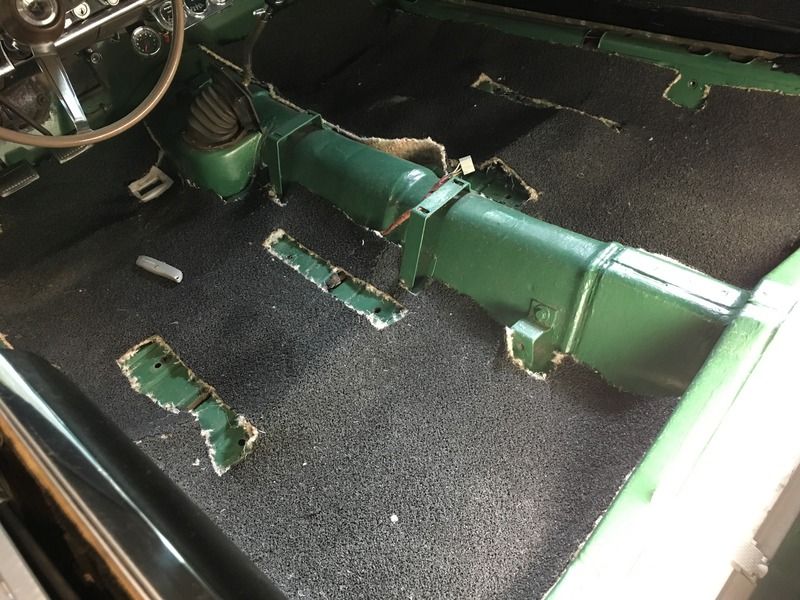
Update on this, I've been prepping the floors, a couple of small repairs, treatment applied and few layers of 2 pack epoxy applied.
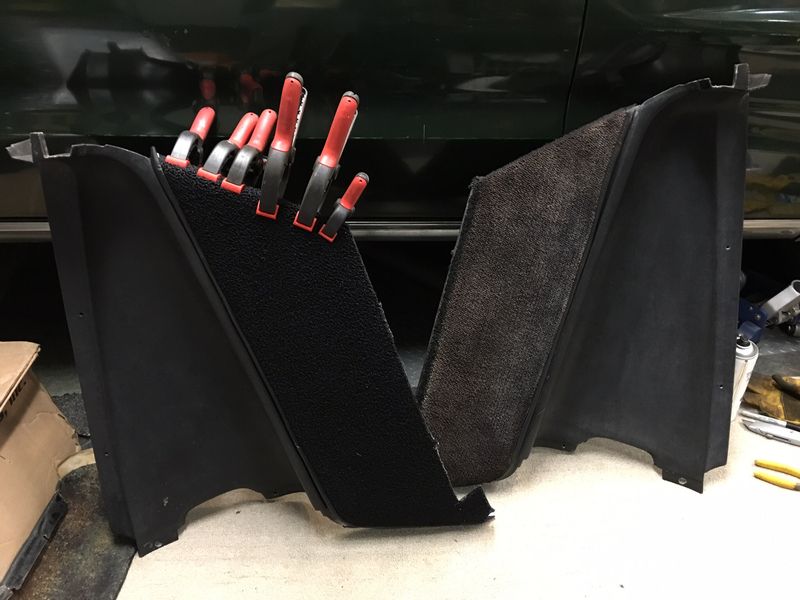
Rear sail panels with new and old carpet for comparison.
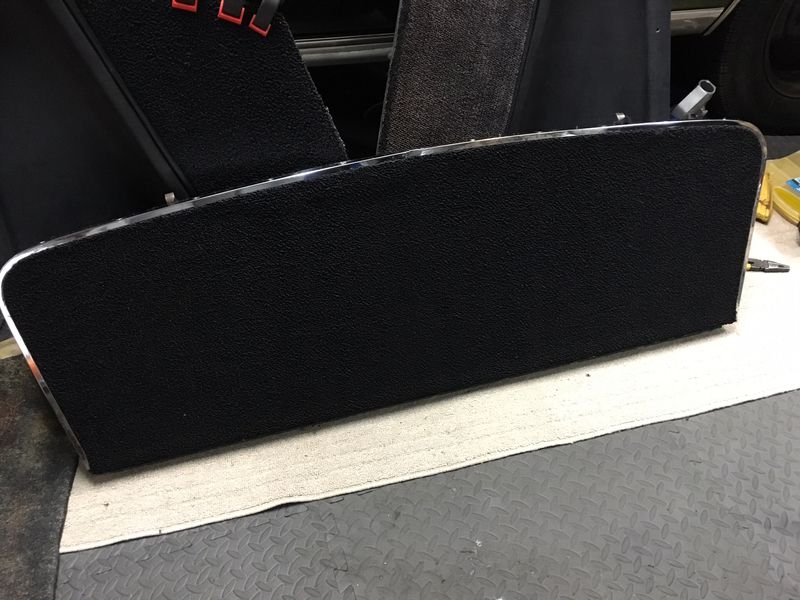
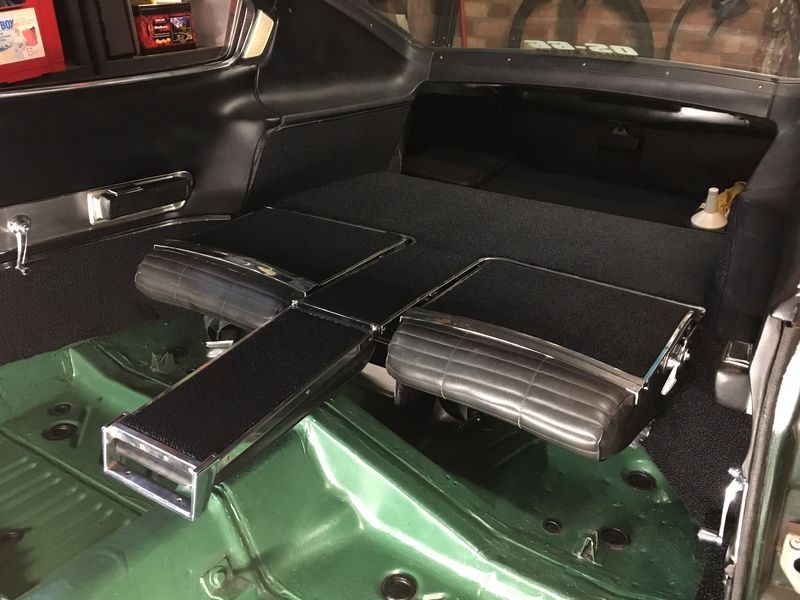
Trunk divider panel trimmed and new hardware fitted.
Load area and rear part of consol done.
Posted: Sun Mar 20, 16 1:03 pm
by XP29
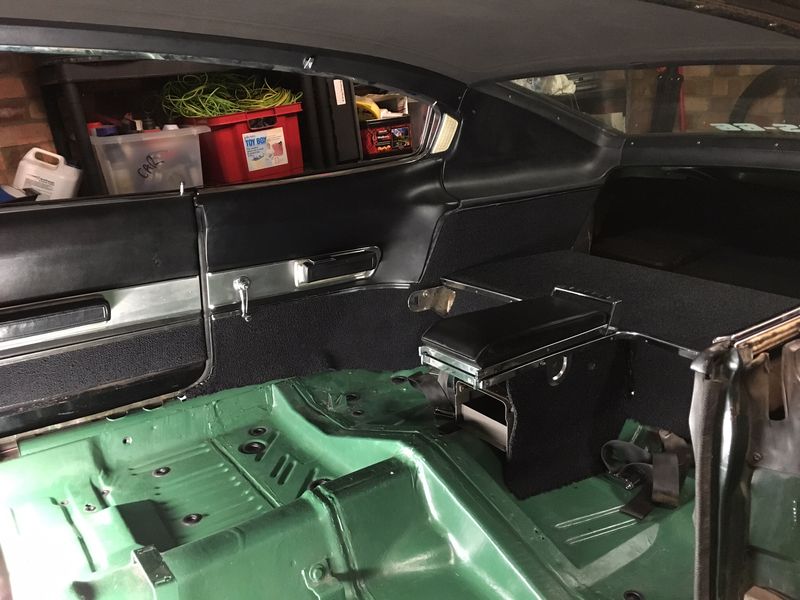
Load area fitted in car.
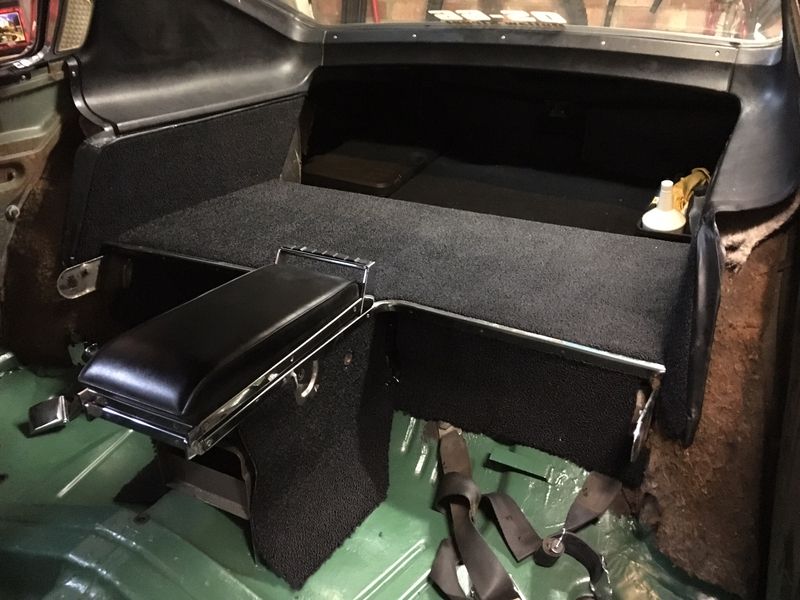
Rear side panels painted (they are steel backed), trimmed and fitted.
Rear seat backs trimmed and fitted.
Next I need to fit the main floor pieces, then finish the consol and fit the rest of that. Plus the two small pieces on the back of the front seats. There's. Over twenty pieces to a gen one Charger!
Posted: Sun Mar 20, 16 2:38 pm
by Pete
Great work and a big improvement!
Posted: Sun Mar 20, 16 4:36 pm
by XP29
Thanks Pete. It will look a lot nicer in there and feel less itchy!

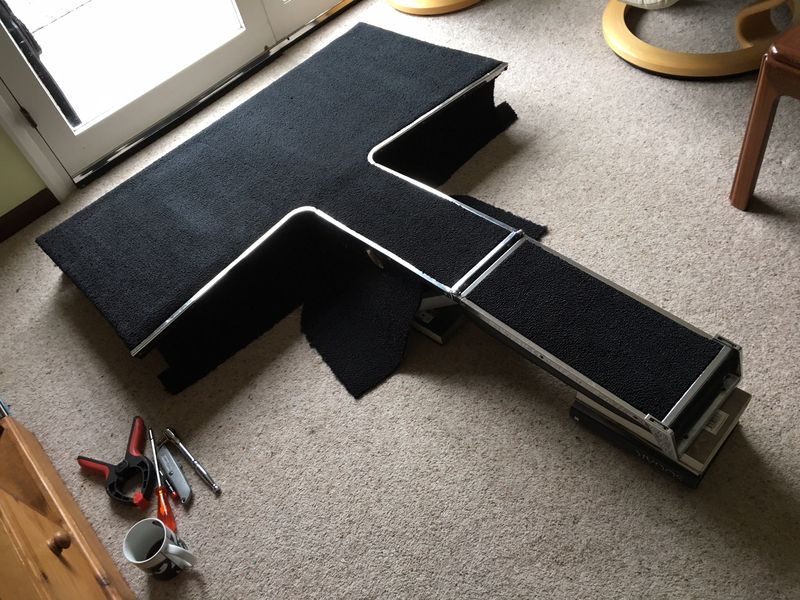
The underlay that ones with the new carpet isn't as thick or covers as big an area as my origonal, so I bought some separate 1/2" thick underlay to double it up and make it nice and cosy in there. I've run a length each side with same cut outs as factory taken from my origonal.
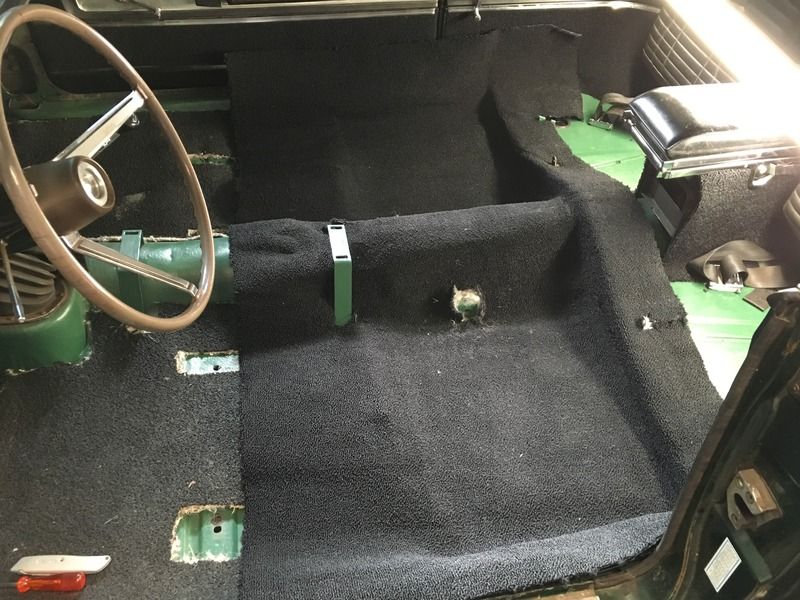
This is the rear piece starting to be cut around the bits and bobs. Just git to trim the edges and put the holes in for seat bolts and seatbelt bolts. The quality of the ACC kits is good, same loop as origonal and molded correctly.
Posted: Sun Mar 20, 16 6:30 pm
by Bilko
Nice job, it will transform the car when it's done.
A good tip is to use a hot soldering iron to make all the bolt holes in the carpet, it seals the edges as it burns through and keeps it from pulling any threads when you tighten the bolts.
Posted: Sun Mar 20, 16 6:38 pm
by XP29
Good point! Thanks for the tip!

carpet
Posted: Sun Mar 20, 16 7:46 pm
by karlee1433
Good job its looking great.
Posted: Sun Mar 20, 16 10:35 pm
by XP29
Thanks
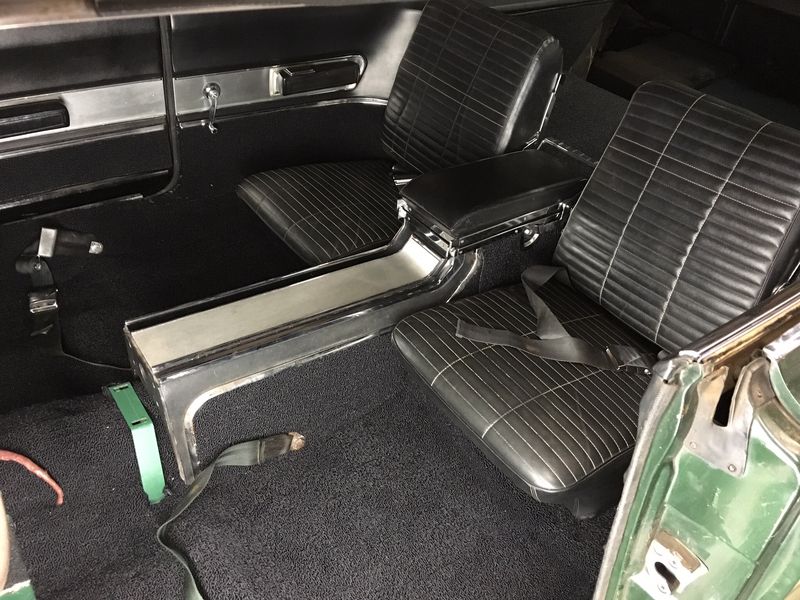
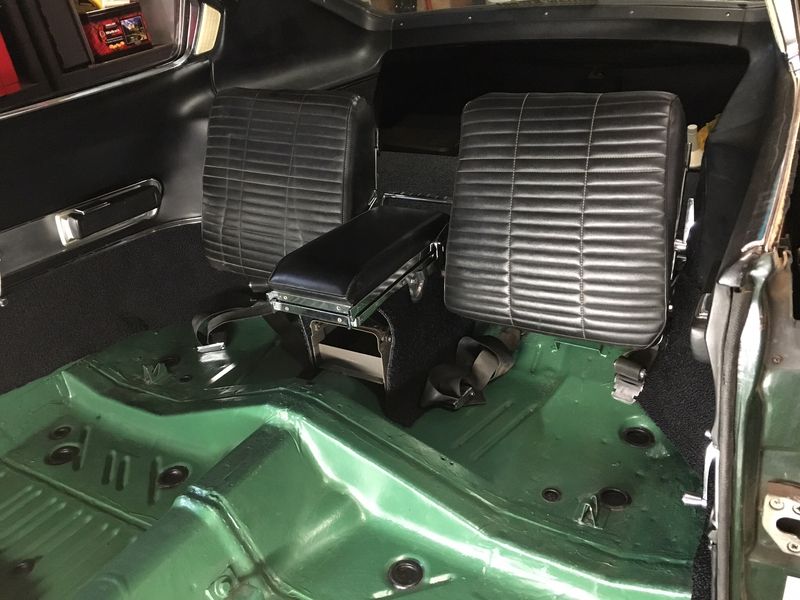
Carried on this evening, got the rest of the floor carpet trimmed, the middle bit of consol trimmed and fitted, plus seat belts bolted in.
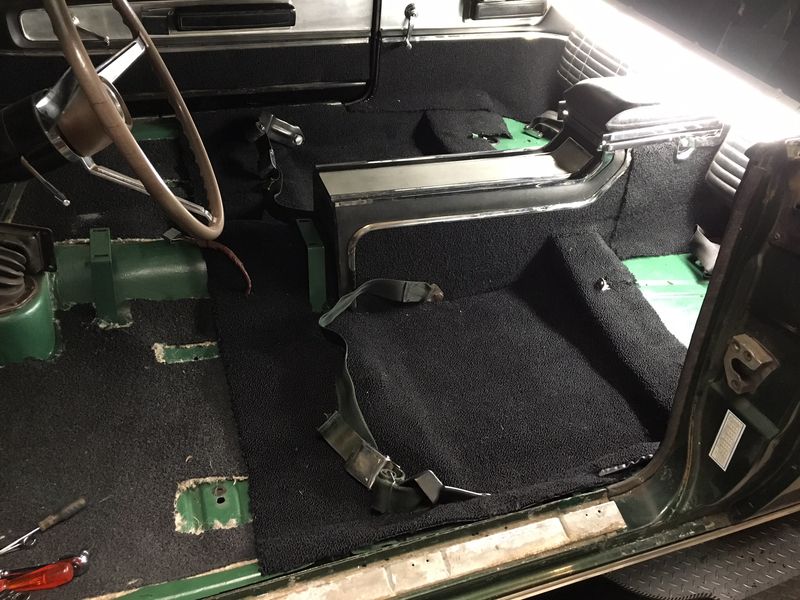
Then rear seat bottoms back in, nice to sit in it again!