Jon Connolly wrote:Paul .. thanks.
You naughty boy with that avatar
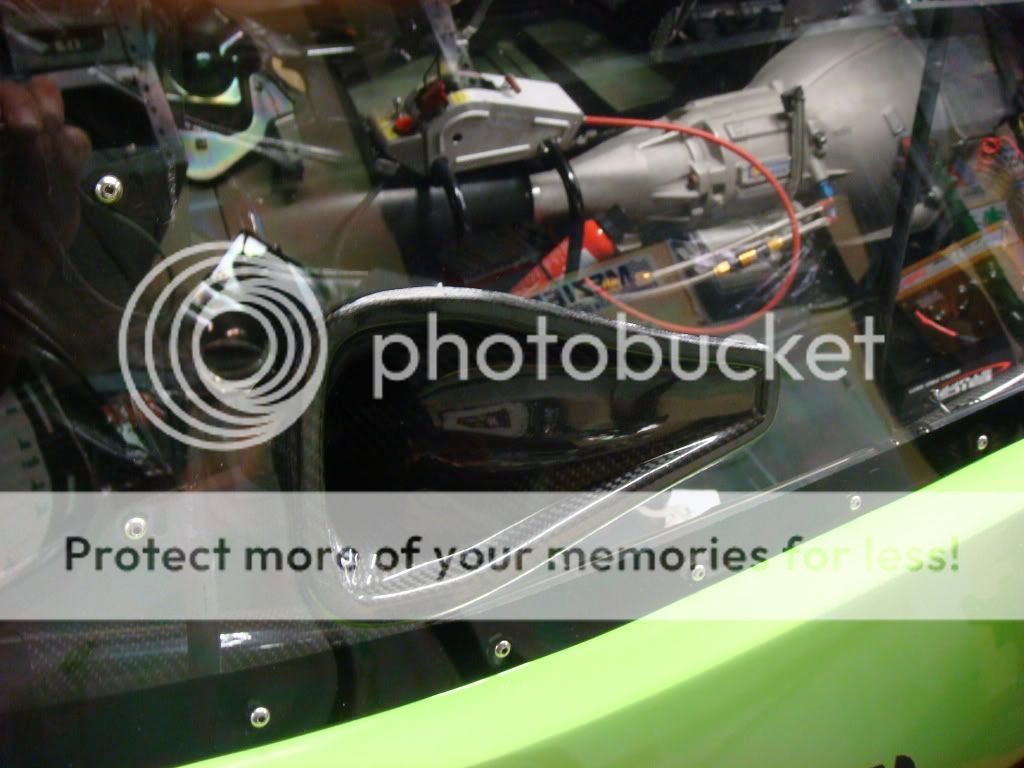
Mark .. I only used flat sheet before but didn`t have great results, didn`t bend very well and is brittle 2 - 3 years later. Maybe I need to use thicker. Do you remember what thickness you used ?
TIA
Scalextric : course I remember, had a grand prix figure 8 when I was 9
Polycarbonate should not be brittle, I used Marguard the last time, as was meant to add more scratch resistance, protection. But any good brand such as Lexan, etc.
If its proper polycarbonate you can bend it to 90 Degrees or more with slight bit of heat /warmth to help it stays were it should be
I used 4 mm thick for front & rear screens & 5mm thick for the side windows.
What I did do & was a Bananarama! job, was to cut out the old windscreen supports & make new supports for the Polycarbonate screen. Then got my mate to welded in new supports, so that I ended with new screens flush to body.
A lot of work, but makes the difference when looking at the car, downside being if you wanted to revert back.
I used stainless button heads to secure (think 4mm ? but cars not here to check) to secure to frames or wind screen surrounds.
After the screen surround, the next longest job was marking out screw holes to get them equally spaced, no big drama, just a lot of measuring & marking.
I didn't use any sealer or rubber to seal, if its really pooring/hammering down water will seap by.
New screens were masked & painted black, if you don't use the right paint it will just peel off, ask me how I know

Oh yeah, the side window frames - I bought the window tabs, as was too many to make & was not much to buy tabs & saved considerable time.
Think I got them through chassis engineering, not sure what they were advertised as ? Also had a nice slot in them, kind of like a lightening/weight reducing slot
Cheers