Page 13 of 63
Posted: Thu Mar 29, 12 7:04 am
by autofetish
Bananarama! i missed that if you have got that pdf would be great.
autofetish@hotmail.com
One hole for thorstion (hight) Ajuster and other to get on the nut that holds rubber bump stop.
Anything else i should know before i powdercoat the axles

Thanks Anton
Posted: Thu Mar 29, 12 8:23 am
by GTXJim
Posted: Fri Mar 30, 12 6:45 am
by autofetish
Posted: Fri Mar 30, 12 7:53 am
by ANTON
I will e-mail you the PDF over the weekend.
I also welded the other end of the lower control arm where they riveted the ball joint mounting to solidify the end as well and I seam welded the plate that holds the bump stop at the top the secure the top of the control arm.
Another item I seam welded was the k-frame and I also seam welded around the where power steering box mounts to stop twisting. See links below to what I copied.
http://www.firmfeel.com/reinfkfram_b.htm
http://www.firmfeel.com/reinlca_b.htm
Posted: Fri Mar 30, 12 8:47 am
by Blue
All well worth doing, the factory welding can be really quite poor, especially on K frames.
Posted: Mon Apr 02, 12 6:33 am
by autofetish
ANTON wrote:I will e-mail you the PDF over the weekend.
I also welded the other end of the lower control arm where they riveted the ball joint mounting to solidify the end as well and I seam welded the plate that holds the bump stop at the top the secure the top of the control arm.
Another item I seam welded was the k-frame and I also seam welded around the where power steering box mounts to stop twisting. See links below to what I copied.
http://www.firmfeel.com/reinfkfram_b.htm
http://www.firmfeel.com/reinlca_b.htm
Blue wrote:All well worth doing, the factory welding can be really quite poor, especially on K frames.


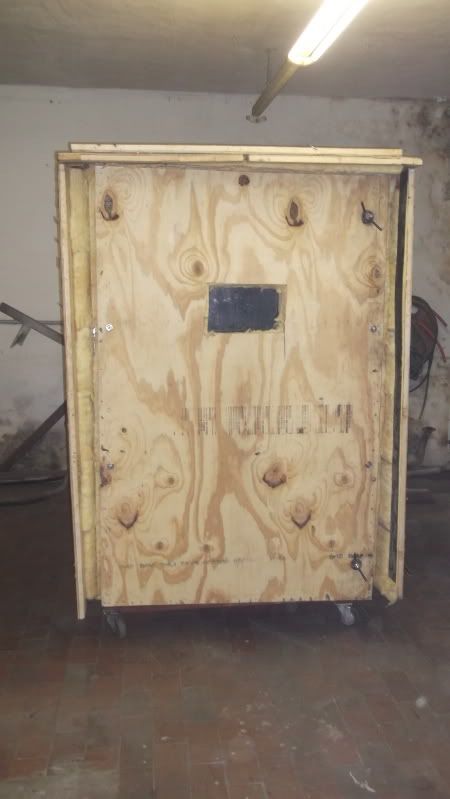
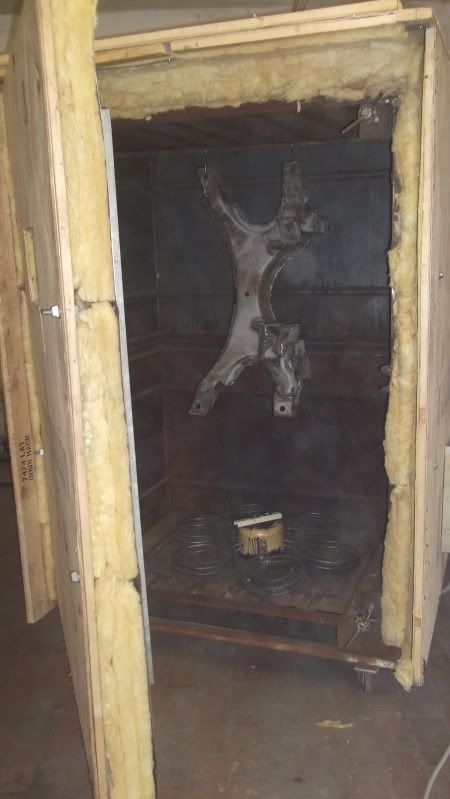
Oven now has 10cm of insulation the roof stuff thats horible Bananarama!
Fingers crossed she make 200°c
And does not tower of inferno on me
<a href="
http://photobucket.com" target="_blank"><img src="
http://i73.photobucket.com/albums/i205/ ... ure307.jpg" border="0" alt="Photobucket"></a>
<a href="
http://photobucket.com" target="_blank"><img src="
http://i73.photobucket.com/albums/i205/ ... ure309.jpg" border="0" alt="Photobucket"></a>
Posted: Mon Apr 02, 12 8:11 am
by Jon Connolly
Will
Is it fibreglass ? or rockwool ?
Looks like fibreglass to me ... reckon you will need alot more than that
Posted: Mon Apr 02, 12 9:23 am
by autofetish
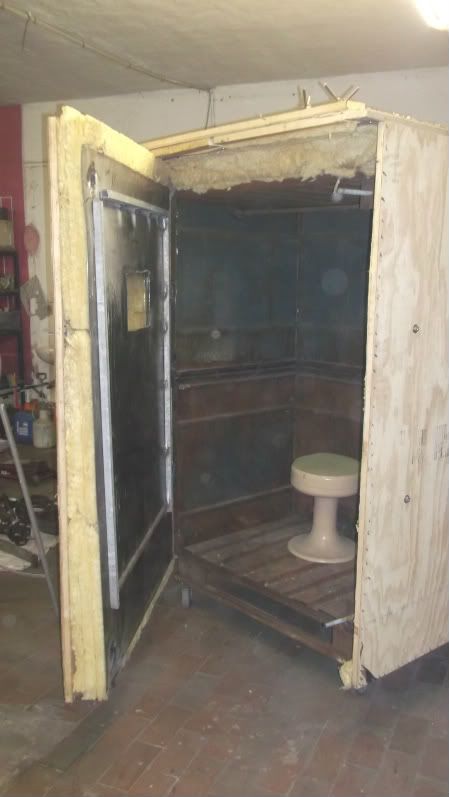
It is rockwool the translation on the packet was mineral wool ????
I have tryed to melt/burn it with oxy kit and she wont burn.
The metal box inside is air tight eg with metal door fits good.
The bottom does have some holes in but hot air does go up
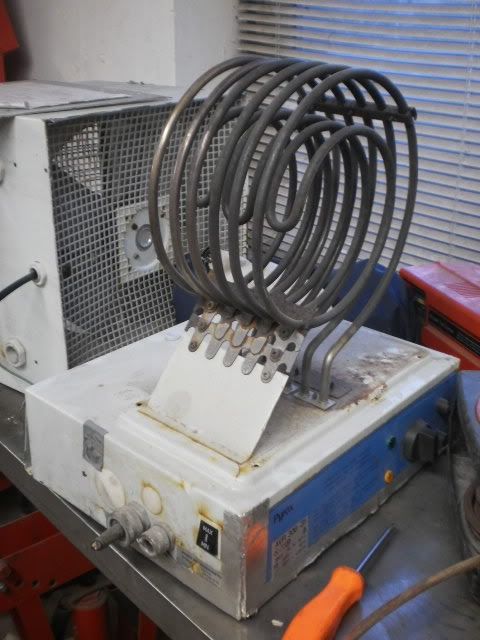
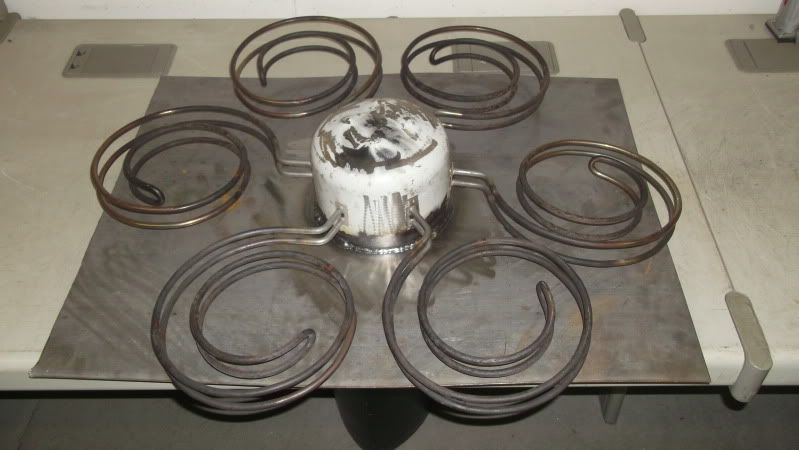
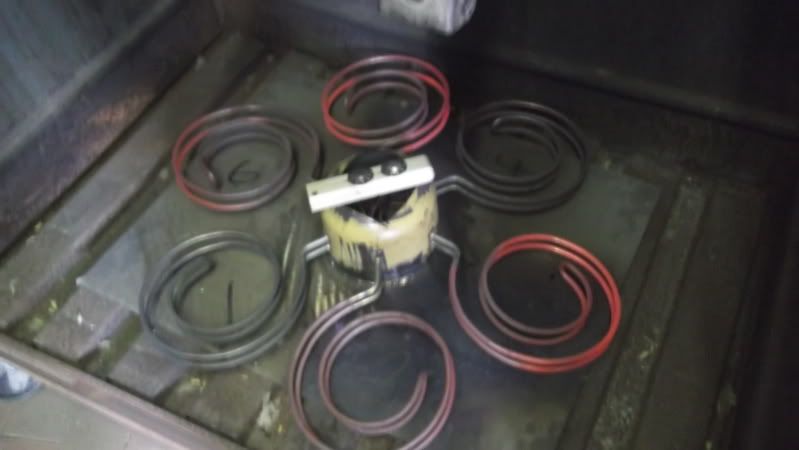
Heat will be 6 x 2kw 3 phaze heating elements giving me 12kw of heat
That i got from some industrial heaters
<a href="
http://photobucket.com" target="_blank"><img src="
http://i73.photobucket.com/albums/i205/ ... 270144.jpg" border="0" alt="Photobucket"></a>
<a href="
http://photobucket.com" target="_blank"><img src="
http://i73.photobucket.com/albums/i205/ ... ure312.jpg" border="0" alt="Photobucket"></a>
Posted: Mon Apr 02, 12 9:58 am
by sinny
Good luck mate, hope it works
Posted: Tue Apr 10, 12 7:19 am
by autofetish
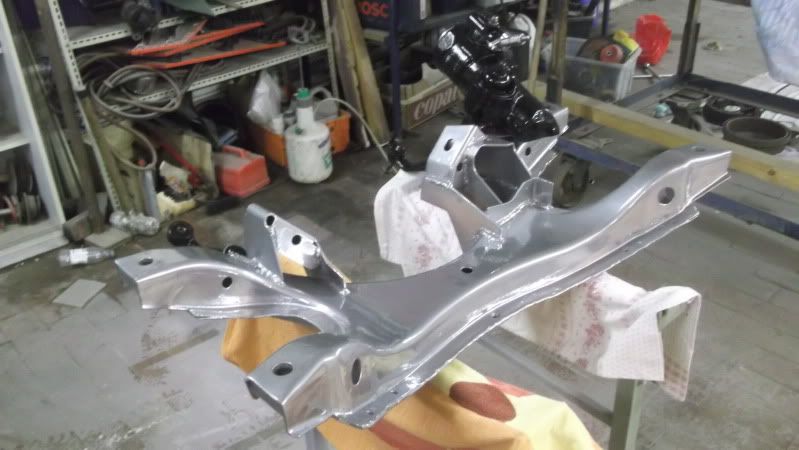
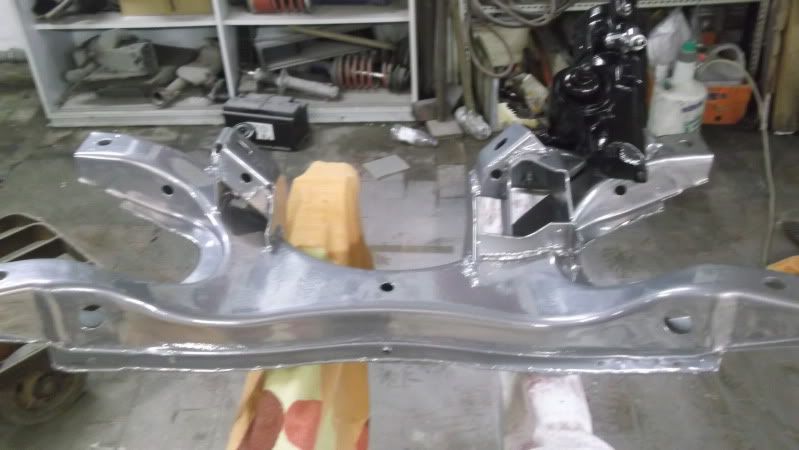
Oven worked well we had 250° and she was still getting hotter.
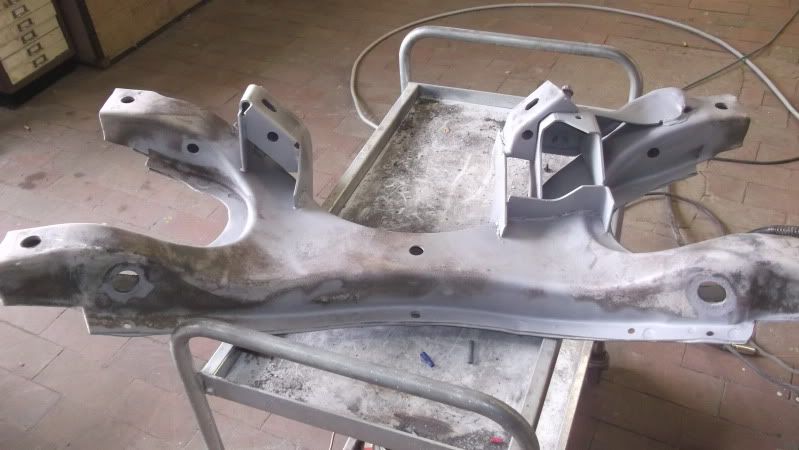
I gave my front axle a little sand blast and then welded all joint together.
On welding i found that oil and grease that was inside the axle started to come out.
So 2hr in the oven at 250°c and it smoked and smoked and all the oil it now out.
welded up front axle next in sand blast and powder coat.
<a href="
http://photobucket.com" target="_blank"><img src="
http://i73.photobucket.com/albums/i205/ ... ure371.jpg" border="0" alt="Photobucket"></a>
<a href="
http://photobucket.com" target="_blank"><img src="
http://i73.photobucket.com/albums/i205/ ... ure372.jpg" border="0" alt="Photobucket"></a>
<a href="
http://photobucket.com" target="_blank"><img src="
http://i73.photobucket.com/albums/i205/ ... ure375.jpg" border="0" alt="Photobucket"></a>
<a href="
http://photobucket.com" target="_blank"><img src="
http://i73.photobucket.com/albums/i205/ ... ure377.jpg" border="0" alt="Photobucket"></a>
Posted: Tue Apr 10, 12 12:11 pm
by morgan
Thats just awesome. Loving this thread...
Posted: Tue Apr 10, 12 1:19 pm
by Dave81
Very impressive mate......

I'd never be able to build something like that........

Posted: Tue Apr 10, 12 3:09 pm
by db
Great work Will !
Posted: Tue Apr 24, 12 9:58 pm
by autofetish
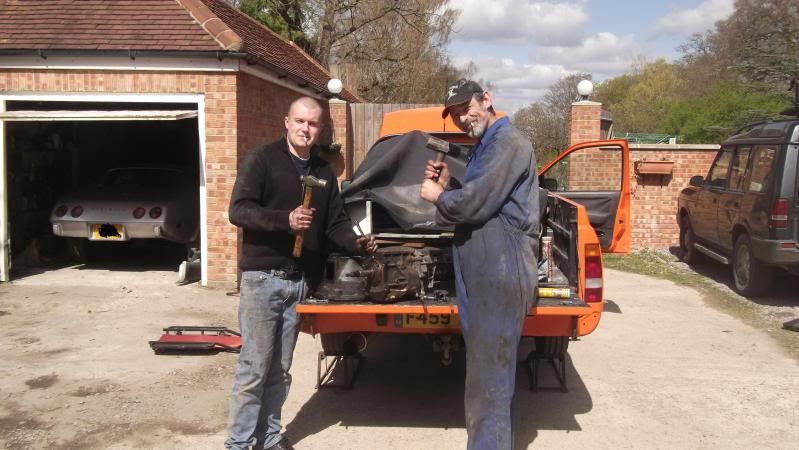
Well this build a car lark is taking some time.
After finding a great guy to rebuild a gear box i final got back to Germany and got the oven fired up.
Powder coated front axle.
Steps....
Sandblasted
Bronox rust/primer High temp
Powder primmer
Powder high chrome
Powder mix of clear coat/chrome/de scratch
Painted parts that i wont bake with Bronox primmer then nitro semi gloss/Matt paint
<a href="
http://photobucket.com" target="_blank"><img src="
http://i73.photobucket.com/albums/i205/ ... oxedit.jpg" border="0" alt="Photobucket"></a>
<a href="
http://photobucket.com" target="_blank"><img src="
http://i73.photobucket.com/albums/i205/ ... CF0263.jpg" border="0" alt="Photobucket"></a>
<a href="
http://photobucket.com" target="_blank"><img src="
http://i73.photobucket.com/albums/i205/ ... CF0260.jpg" border="0" alt="Photobucket"></a>
Posted: Wed Apr 25, 12 3:25 pm
by sinny
Now that looks the nuts, nice one Will.
Any news from the paint shop?