Great job you're doing there.
I'm thinking of doing my latest charger matt black aswell or give it the rat look to keep the cost down. At least then it won't matter too much if it gets marked.
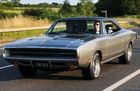
Will´s 1968 Dodge Charger
Moderator: Moderators
Dark colours do tend to show moreautofetish wrote:not decided on color yet want it black but will show up every bump.
Does a matt black show up every little imperfection like a shinny black ??
But Matt finishes however, will always hide lots owing to them not being reflective
Lifes Too Fast But The Car`s Not, It even managed to miss the boat twice.
Now passed customs.
Now on route.
Now in posession.
Now costing me sh*t loads.
Now passed customs.
Now on route.
Now in posession.
Now costing me sh*t loads.

autofetish wrote:The more i think about it the more i want a tesco carpark door knocker.
But solid no rust can always later have a show winning paint job
like this ... http://www.evo.co.uk/features/features/ ... arger.html
Si
1970 Charger 500
383 | 4bbl | 727 column | PAS | PAB | buckets/buddy - check out my photos HERE
If you don't want another same old brand-new car ... you could be DODGE MATERIAL
1970 Dodge Charger Registry - https://www.1970chargerregistry.com/
1970 Charger 500
383 | 4bbl | 727 column | PAS | PAB | buckets/buddy - check out my photos HERE
If you don't want another same old brand-new car ... you could be DODGE MATERIAL
1970 Dodge Charger Registry - https://www.1970chargerregistry.com/

Lookin' good Will.
My old man has his '69 Daimler in the paint shop at the moment. They removed all of the primer he had put on it (was a good job) & re-did it all plus installed a new rocker panel & some other minor parts for £2k all in. It's coming out brilliantly so far. So I'm not going to bother with the smoothing out etc & I'll leave it to the experts.


My old man has his '69 Daimler in the paint shop at the moment. They removed all of the primer he had put on it (was a good job) & re-did it all plus installed a new rocker panel & some other minor parts for £2k all in. It's coming out brilliantly so far. So I'm not going to bother with the smoothing out etc & I'll leave it to the experts.
Shaun 'Moparless' Senior
MMA Club Chairman
MMA Club Chairman
-
autofetish
- Posts: 5599
- Joined: Sat May 21, 11 6:43 am
Cool daddysinny wrote:Lookin' good Will.
My old man has his '69 Daimler in the paint shop at the moment. They removed all of the primer he had put on it (was a good job) & re-did it all plus installed a new rocker panel & some other minor parts for £2k all in. It's coming out brilliantly so far. So I'm not going to bother with the smoothing out etc & I'll leave it to the experts.
]
Great so around the 2k mark then thanks everyone
-
autofetish
- Posts: 5599
- Joined: Sat May 21, 11 6:43 am
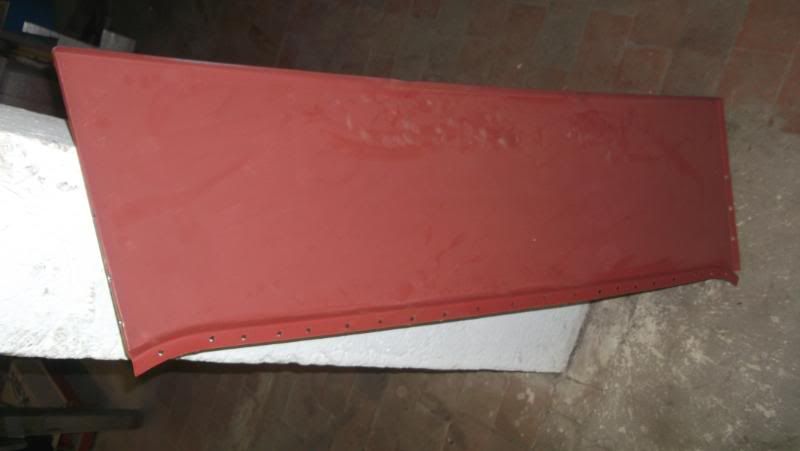
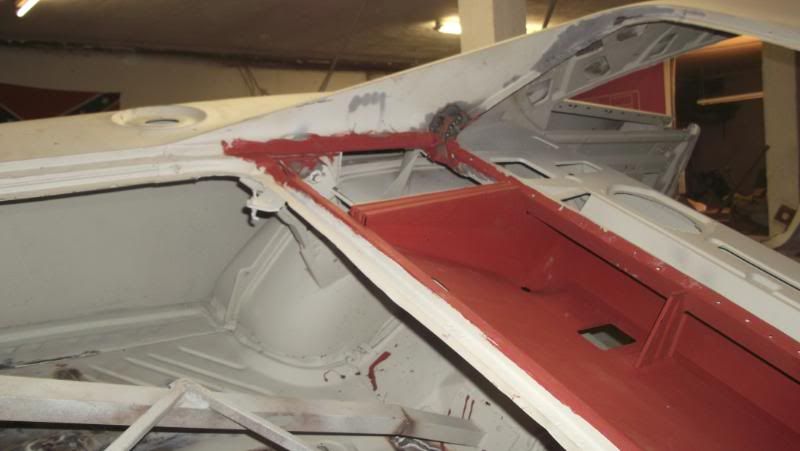
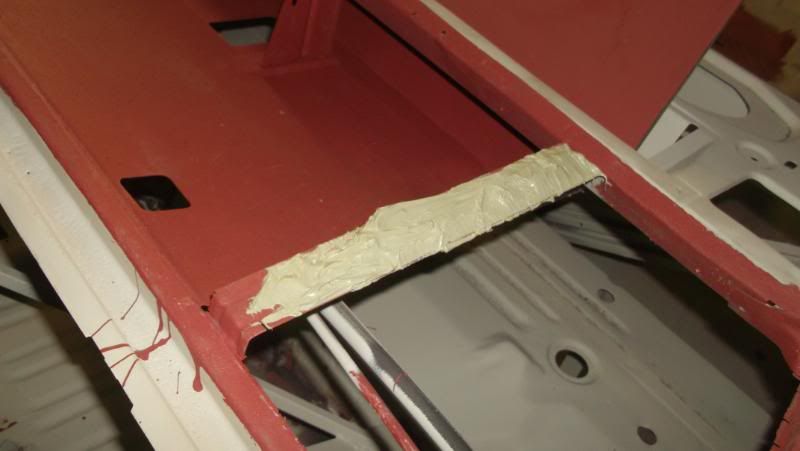
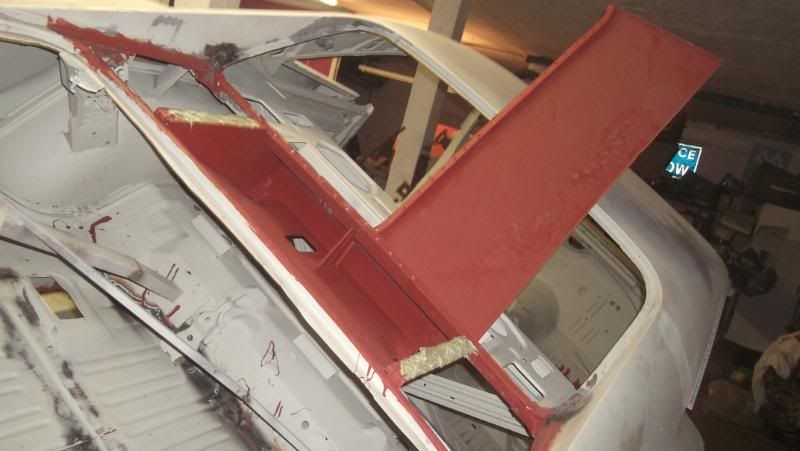
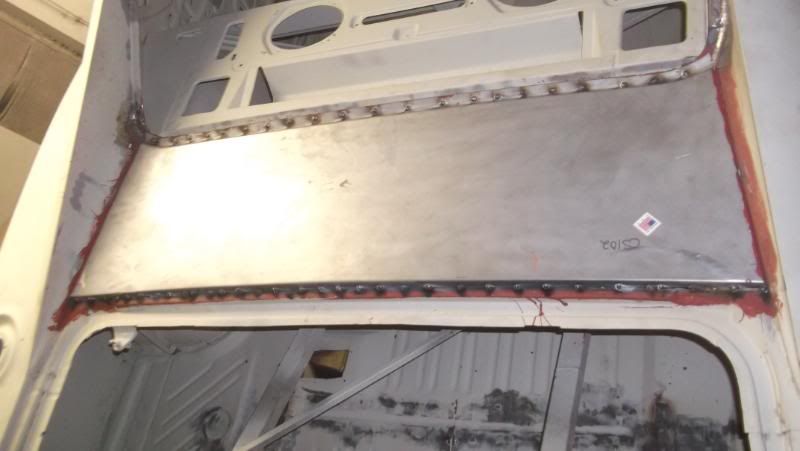
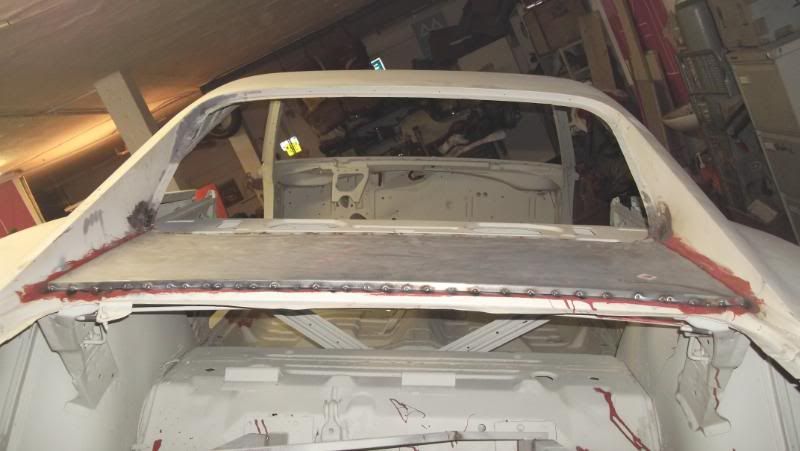
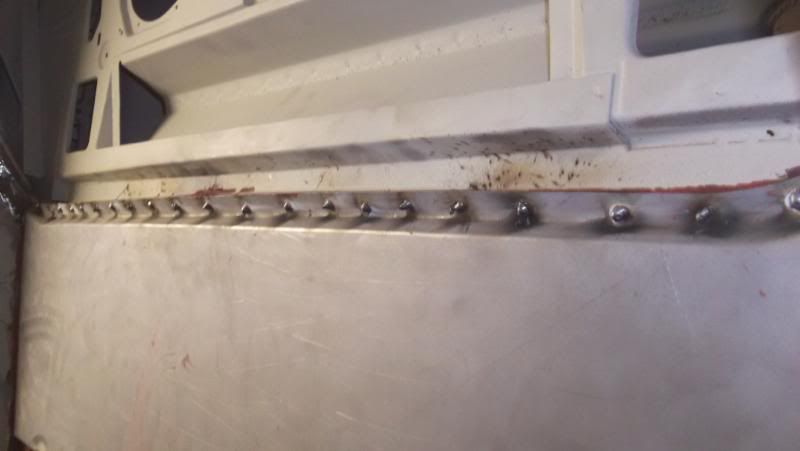
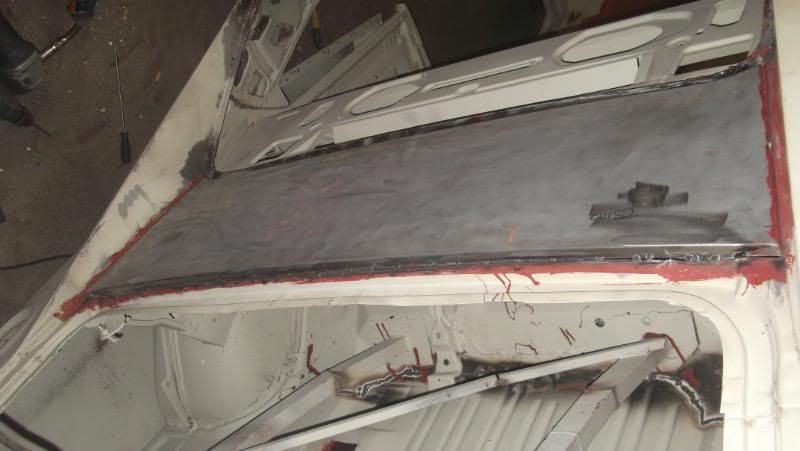
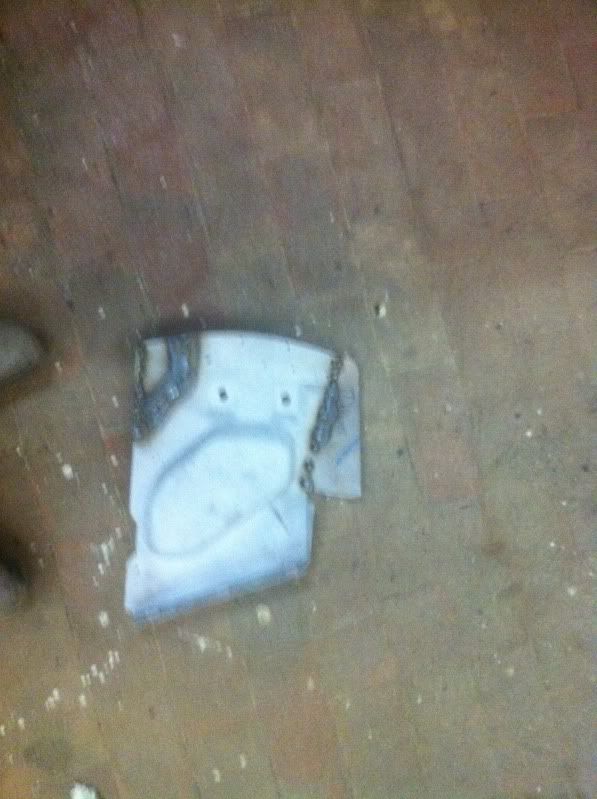
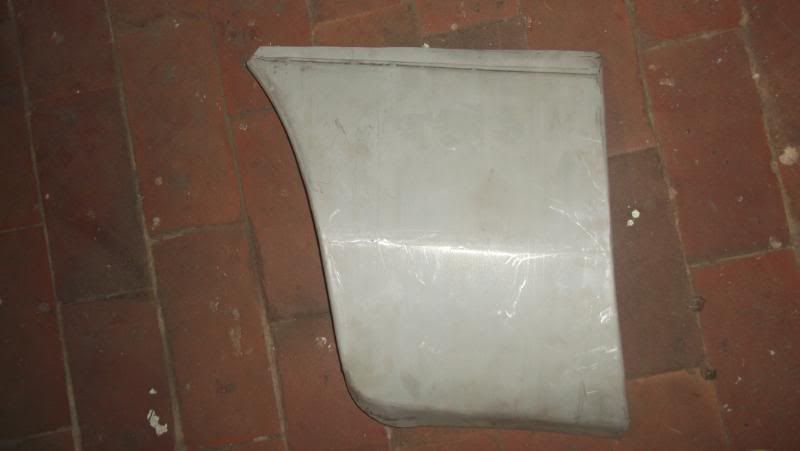
I final got the rear sail pannel on.
drilled holes
filled them with weld
some seam sealer stuff under to help with vibration
patched up other holes around rear window
201 days until moparnats must hurry up
<a href="http://photobucket.com" target="_blank"><img src="http://i73.photobucket.com/albums/i205/ ... /002-4.jpg" border="0" alt="Photobucket"></a>
<a href="http://photobucket.com" target="_blank"><img src="http://i73.photobucket.com/albums/i205/ ... /004-1.jpg" border="0" alt="Photobucket"></a>
<a href="http://photobucket.com" target="_blank"><img src="http://i73.photobucket.com/albums/i205/ ... /005-1.jpg" border="0" alt="Photobucket"></a>
<a href="http://photobucket.com" target="_blank"><img src="http://i73.photobucket.com/albums/i205/ ... /007-1.jpg" border="0" alt="Photobucket"></a>
<a href="http://photobucket.com" target="_blank"><img src="http://i73.photobucket.com/albums/i205/ ... /006-2.jpg" border="0" alt="Photobucket"></a>
<a href="http://photobucket.com" target="_blank"><img src="http://i73.photobucket.com/albums/i205/ ... /009-1.jpg" border="0" alt="Photobucket"></a>
<a href="http://photobucket.com" target="_blank"><img src="http://i73.photobucket.com/albums/i205/ ... /010-1.jpg" border="0" alt="Photobucket"></a>
<a href="http://photobucket.com" target="_blank"><img src="http://i73.photobucket.com/albums/i205/ ... sh/011.jpg" border="0" alt="Photobucket"></a>
<a href="http://photobucket.com" target="_blank"><img src="http://i73.photobucket.com/albums/i205/ ... sh/013.jpg" border="0" alt="Photobucket"></a>
The closer you are to death the more alive you are
-
autofetish
- Posts: 5599
- Joined: Sat May 21, 11 6:43 am
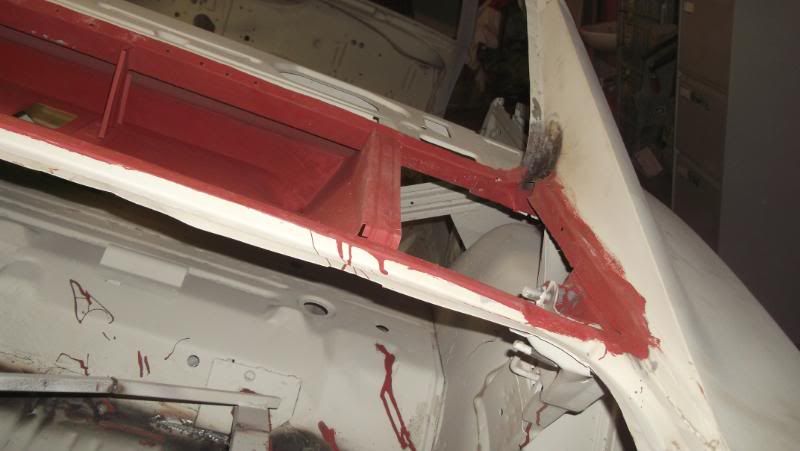
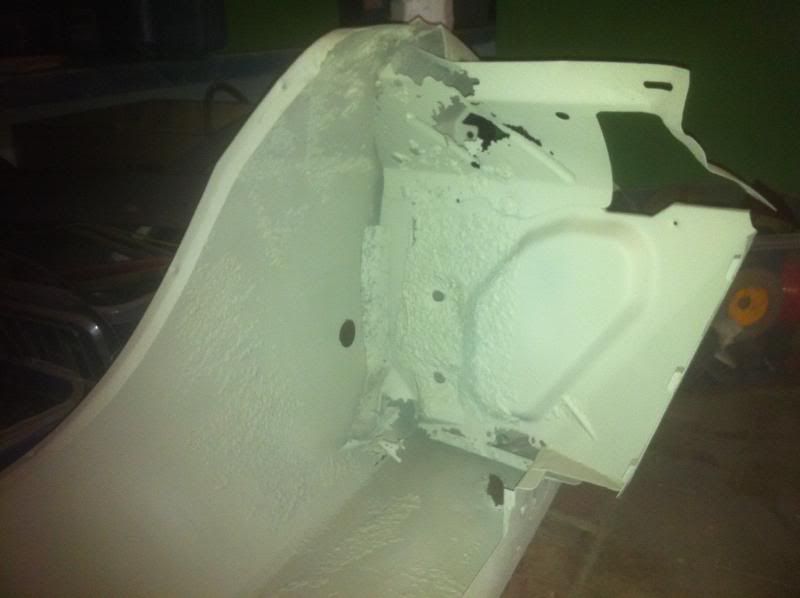
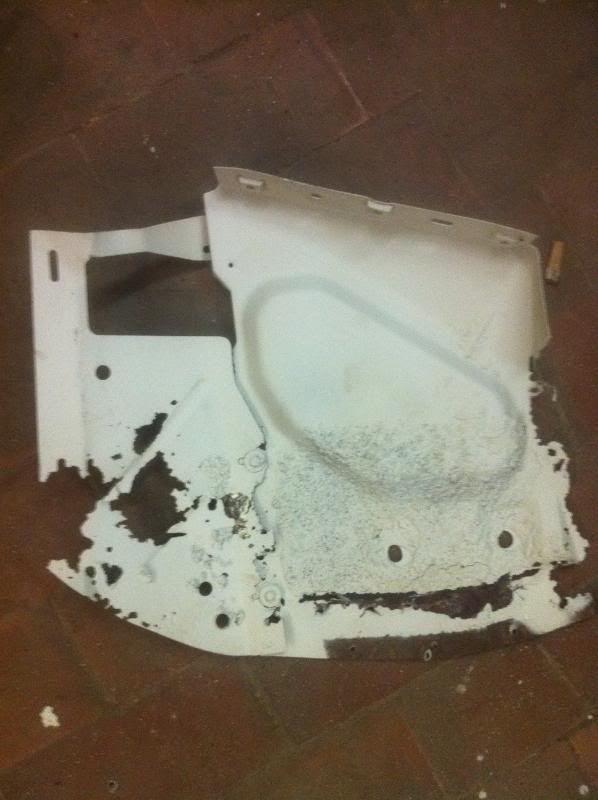
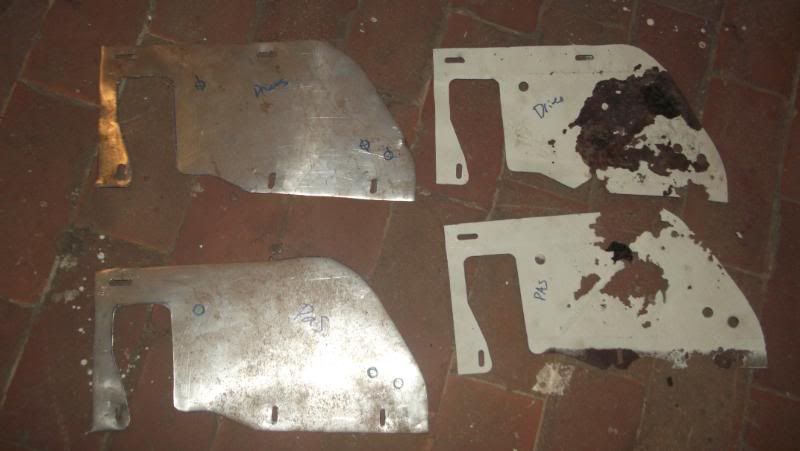
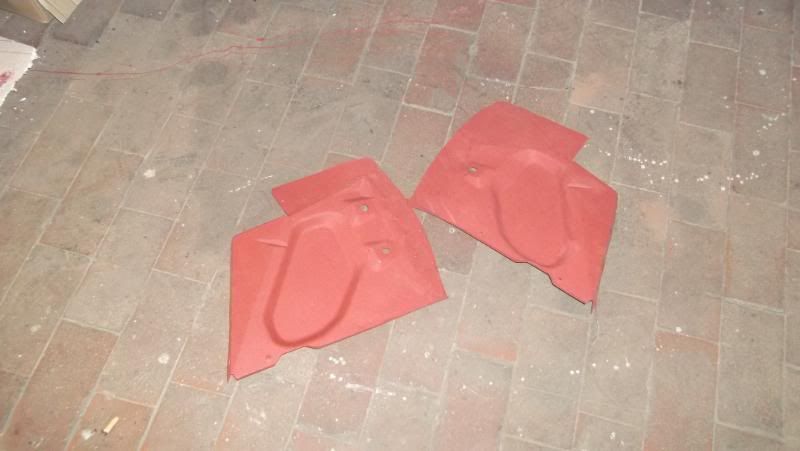
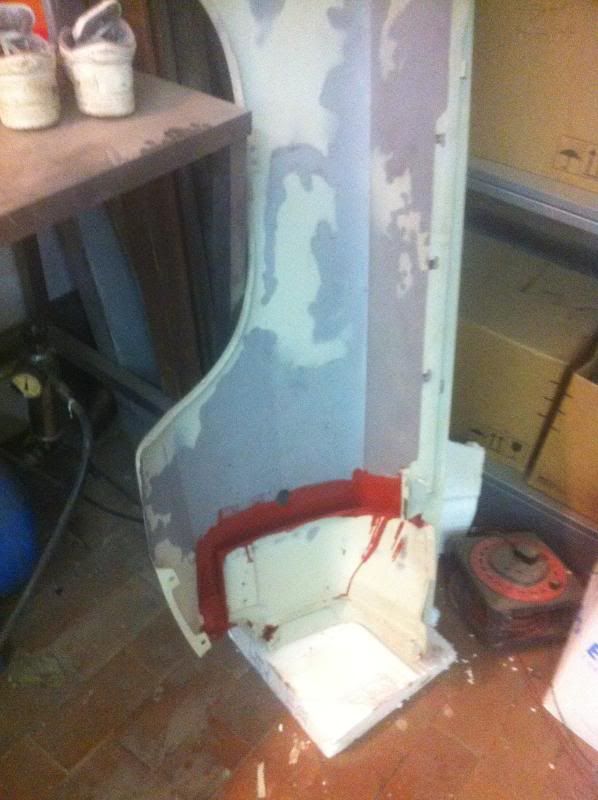
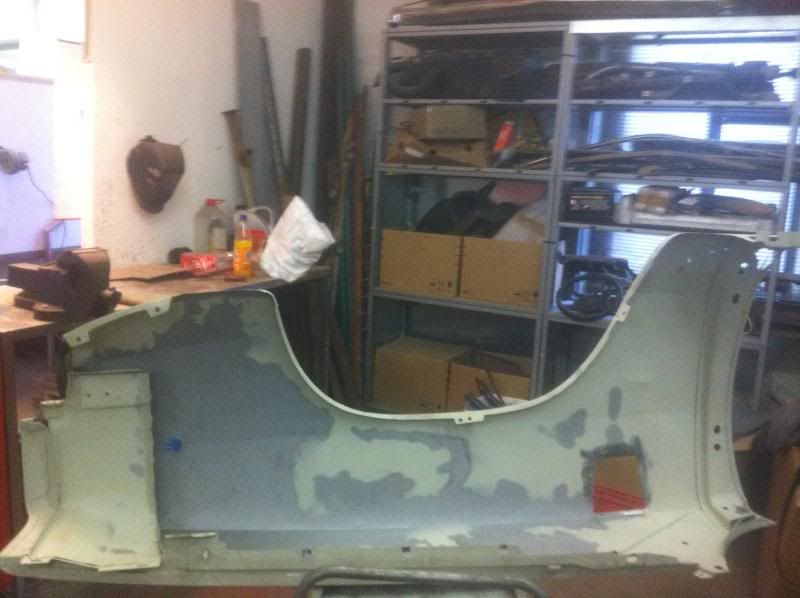
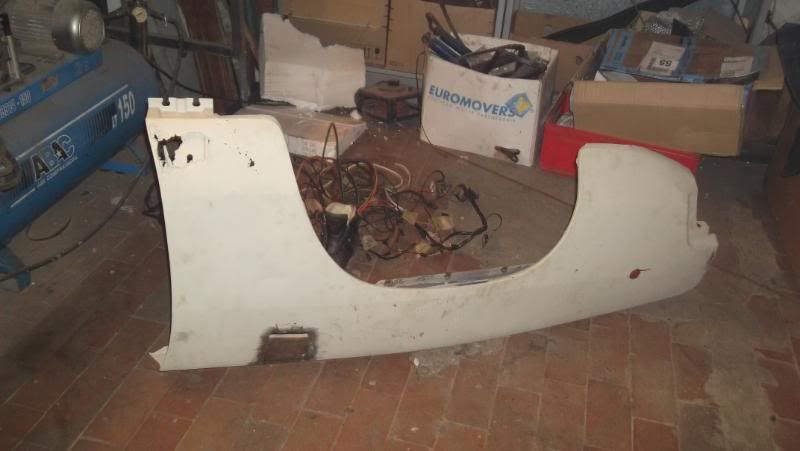
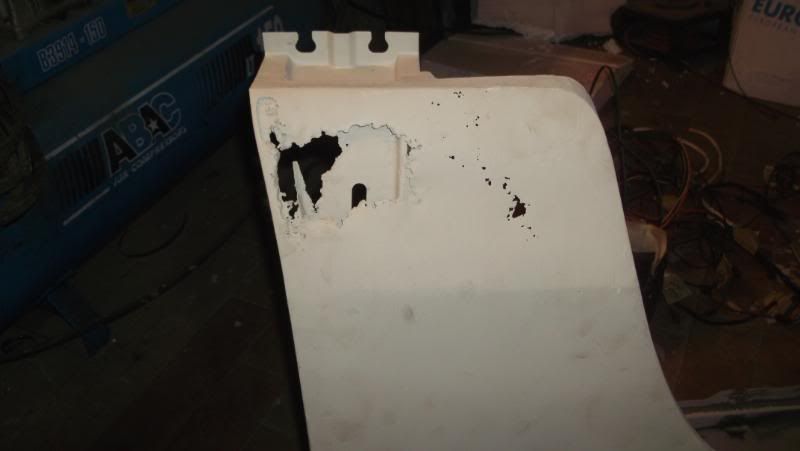
Next up the front wings
Mr Fiber Dale doesn't have molds so looks like I'm stuck fixxing these
Loads of repairs needed.
Still quite a bit of under seal on so i scraped it off and dropped it in the sand blasting tank and got it back to metal.
Removed front inside part and sandblasted inside cavity and painted
I have order year one lower repair panels how would you fit these.
Butt weld or overlap ???
Advice needed
<a href="http://photobucket.com" target="_blank"><img src="http://i73.photobucket.com/albums/i205/ ... /001-3.jpg" border="0" alt="Photobucket"></a>
<a href="http://photobucket.com" target="_blank"><img src="http://i73.photobucket.com/albums/i205/ ... /002-3.jpg" border="0" alt="Photobucket"></a>
<a href="http://photobucket.com" target="_blank"><img src="http://i73.photobucket.com/albums/i205/ ... sh/020.jpg" border="0" alt="Photobucket"></a>
<a href="http://photobucket.com" target="_blank"><img src="http://i73.photobucket.com/albums/i205/ ... /005-2.jpg" border="0" alt="Photobucket"></a>
<a href="http://photobucket.com" target="_blank"><img src="http://i73.photobucket.com/albums/i205/ ... sh/018.jpg" border="0" alt="Photobucket"></a>
<a href="http://photobucket.com" target="_blank"><img src="http://i73.photobucket.com/albums/i205/ ... sh/009.jpg" border="0" alt="Photobucket"></a>
<a href="http://photobucket.com" target="_blank"><img src="http://i73.photobucket.com/albums/i205/ ... sh/007.jpg" border="0" alt="Photobucket"></a>
<a href="http://photobucket.com" target="_blank"><img src="http://i73.photobucket.com/albums/i205/ ... sh/023.jpg" border="0" alt="Photobucket"></a>
<a href="http://photobucket.com" target="_blank"><img src="http://i73.photobucket.com/albums/i205/ ... sh/024.jpg" border="0" alt="Photobucket"></a>
<a href="http://photobucket.com" target="_blank"><img src="http://i73.photobucket.com/albums/i205/ ... sh/026.jpg" border="0" alt="Photobucket"></a>
<a href="http://photobucket.com" target="_blank"><img src="http://i73.photobucket.com/albums/i205/ ... /027-1.jpg" border="0" alt="Photobucket"></a>
Last edited by autofetish on Thu Jan 12, 12 9:21 am, edited 1 time in total.
The closer you are to death the more alive you are

Cut out the old. The repair panels from yearone seem to be pretty good based on the ones I've used.autofetish wrote:Next up the front wings
I have order year one lower repair panels how would fit these.
Butt weld or overlap ???
Advice needed
This may help you:
http://www.mopartech.net/showthread.php?t=3867
Nice work on the sail panel by the way.
Shaun 'Moparless' Senior
MMA Club Chairman
MMA Club Chairman
-
autofetish
- Posts: 5599
- Joined: Sat May 21, 11 6:43 am
-
Cannonball

- Posts: 17242
- Joined: Sun Apr 18, 04 11:26 pm
- Location: crewe, cheshire
- Contact:
great work
real good to see your havin a go, pat on the back
real good to see your havin a go, pat on the back
www.dwatts80.fsnet.co.uk
WATTS RACING TRANSMISSIONS, CLOBBER THE COMPETITION ITS CLOBBERIN TIME
OFTEN OUTNUMBERED NEVER OUTGUNNED,
HEY WHATS THE TOP END ON THAT SUPERSPORTS. UNLIMITED,
I HAVE A NVQW
LIFE GOES PRETTY FAST, IF YOU DONT LOOK ROUND A WHILE YOU MAY JUST MISS IT,
THE PASS IS THE JUICE,
LOVED BY FEW,
HATED BY MANY
RESPECTED BY ALL
-
Dave-R

- Posts: 24752
- Joined: Sun Apr 18, 04 11:23 pm
- Location: Dave Robson lives in Geordieland
- Contact:
Oh. Tough one. I have done both in the past. Very hard to do on flat bodywork without distorting the steel.autofetish wrote:I have order year one lower repair panels how would you fit these.
Butt weld or overlap ???
Advice needed
If it was curved I would use Intergrip welding clamps which leave a gap in the butt edges. But I think for a fender repair panel I would overlap. The extra thickness will help stop the panel distorting.
But you need a lip on the edge of the repair panel so that the front surfaces are flush.